
Overview
The following animation shows an overview of the majority of the installation process.
This installation method is for recessed installations of motorized art TV covers. This installation method is ideal for standard stud thickness walls where you don't have the luxury of extra depth in your recess for a wall mount because the wall mount is an integrated part of this system.
In summary, first you install the metal shell to the perimeter of the recess, then TV is pre-installed with the integrated mount system into the motorized art subframe. From there the entire subframe with TV locks into the base of the shell that's pre-installed in the wall and locks into place.
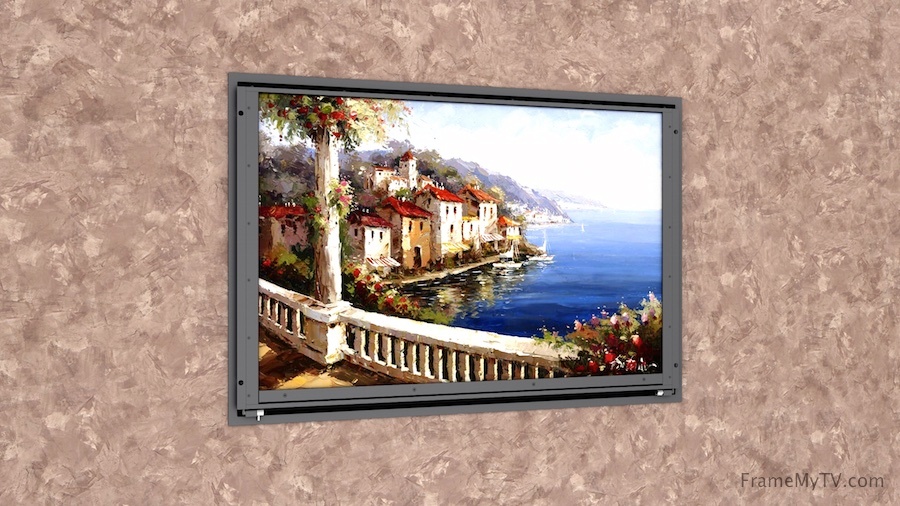
Example Installation
What to do before the frame arrives:
- TV: Use an ultra thin television (less than 2" thick)
- RECESSED: Make a roughed in a recess in the wall with a 2x4 stud on all four sides of the recess. Contact us to determine the opening size of the recess.
- ELECTRICAL: install a standard 2 receptacle outlet behind the TV
Installation Steps:
Step1
With this install method emitter cord from the IR-2 Instruction that sticks onto the front of the TV should be installed onto the TV before
Step 2
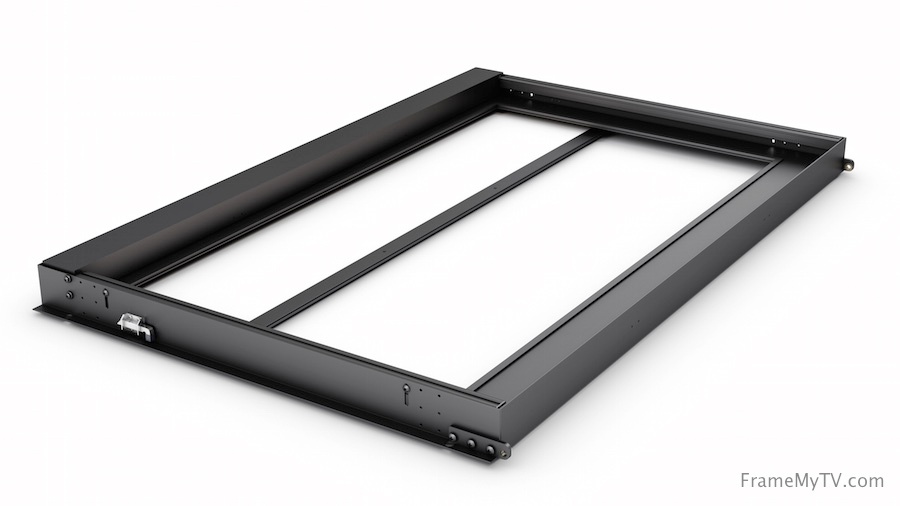
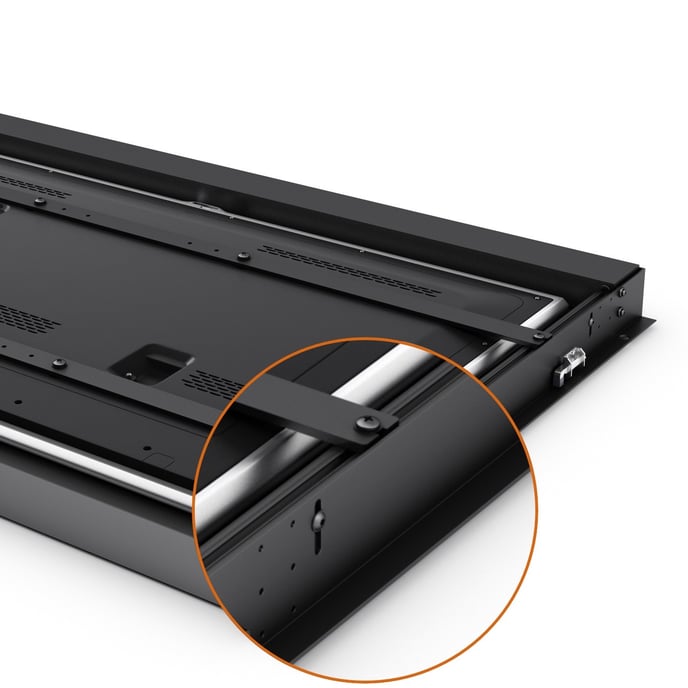
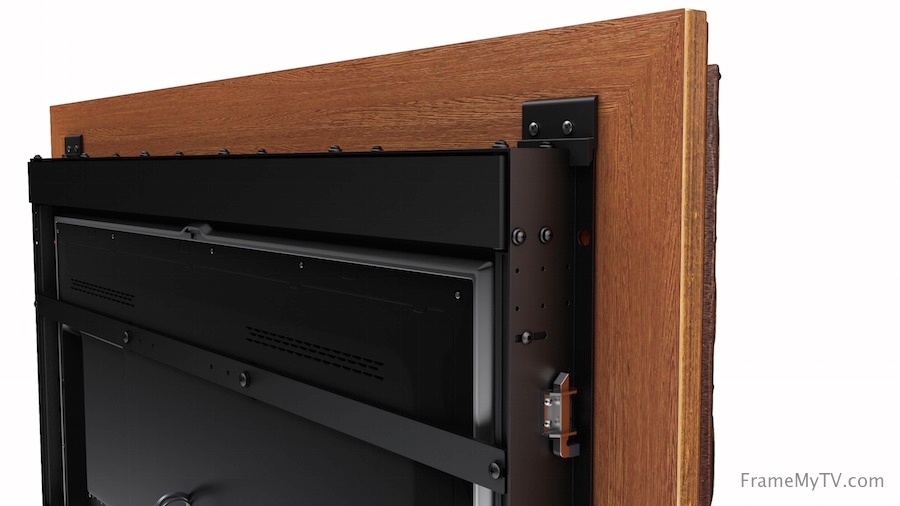
Lay the Black Metal Subframe on the floor (from the front side you shouldn't see and of the stickers. Those are all on the back of the frame. At the bottom left and right you'll see a pair of silver hinges that you can rotate to release the hinge and remove the inner metal shell from the outer shell. The outer black shell is then installed into the recess as shown in the video.
Step 3
Place the now separate metal subframe onto its face on the floor (so you can see the stickers on the back). Unscrew and remove ONLY the black horizontal rails as shown in the video
Step 4
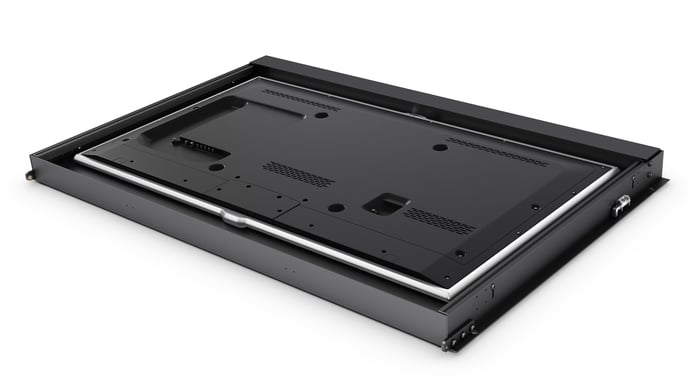
Place the TV on it's face (be sure the IR-2 emitter is on the front of the TV before you do this as shown in step 1 above) into the black metal subframe and shift it around some so the visible screen is aligned with the opening of the black fabric mat from the front.
Step 5
Then reinstall the horizontal metal rail that you removed in Step 3. Align the rails with the 4 mounting holes on the back of the TV that you would typically use for installing a normal wall mount.

NOTE: There are slots on the side of the metal subframe to allow you to use a hex key to adjust the X,Y,Z positioning of the horizontal rails.
Step 6
After the outer shell has been installed in the recess as shown in the video, you can lift and place the metal subframe with the TV up and into the recess.
Step 7
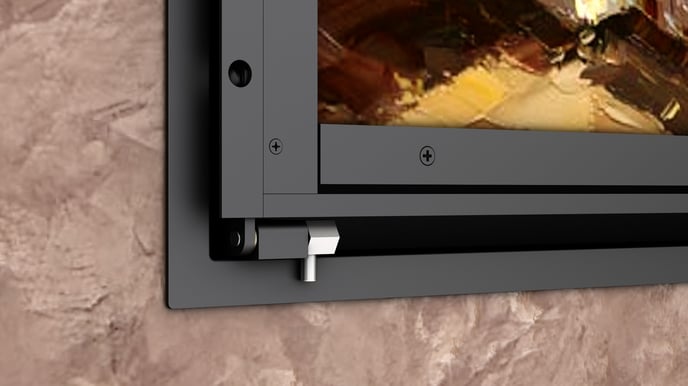
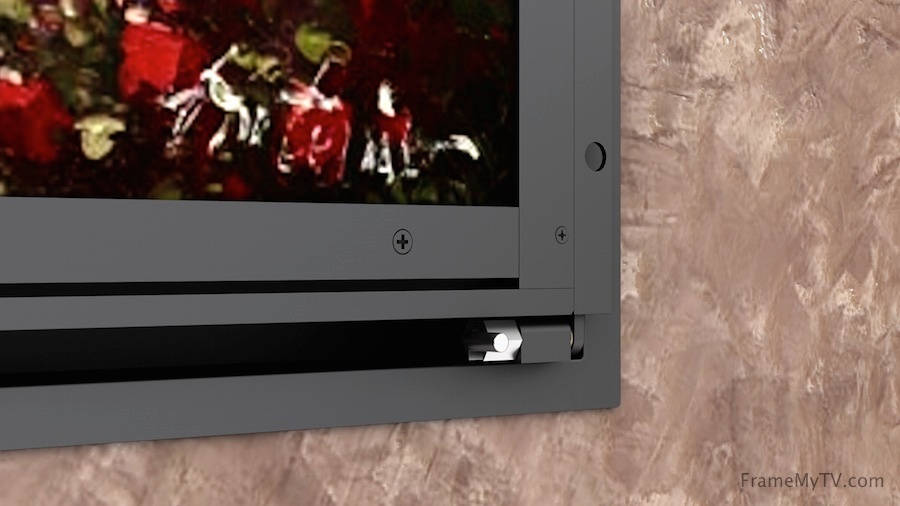
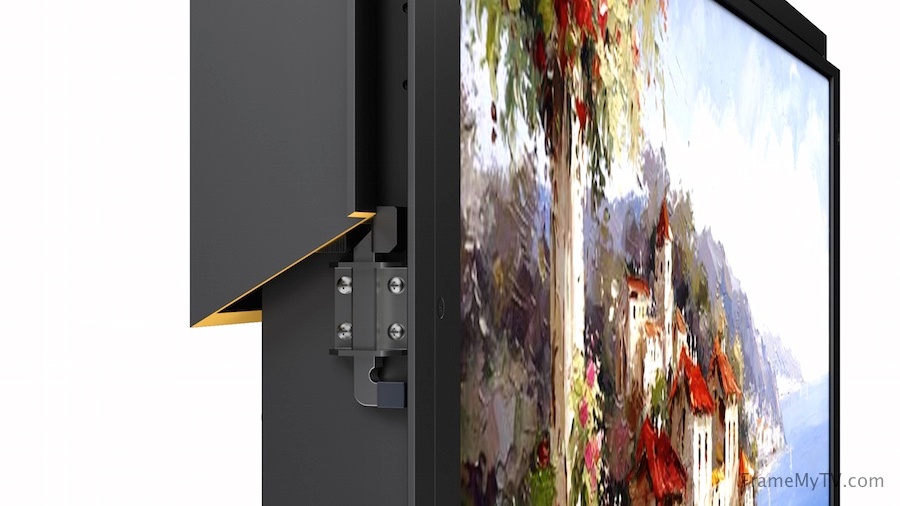
Rotate the silver hinges to lock the metal subframe into place.

Step 8
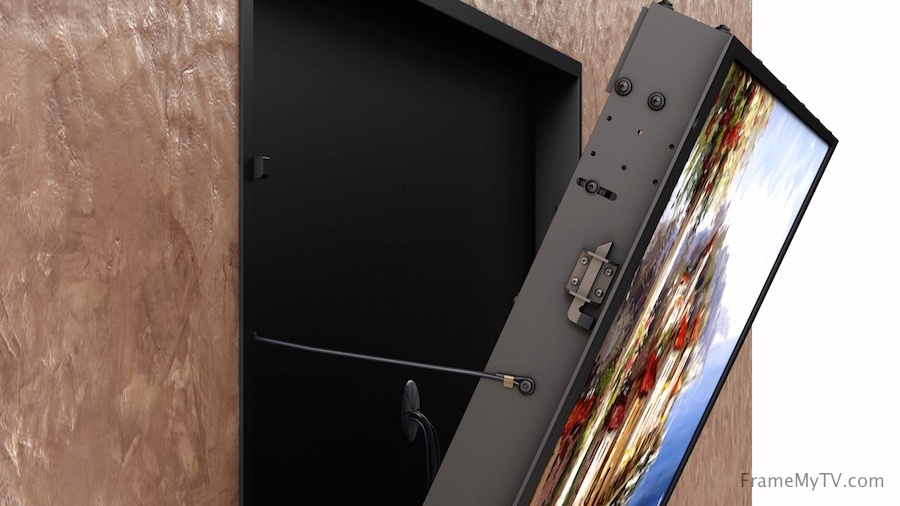
Release the silver latches on the sides of the subframe to put the top of the frame forward by the hinges so you can attach the safety cord on the left.
BEWARE: Be sure to hold the top of the metal subframe until the straps are hooked onto the side.
Step 9
Attach the decorative frame onto the metal subframe with the hooks that are pre-installed on the back of the frame.

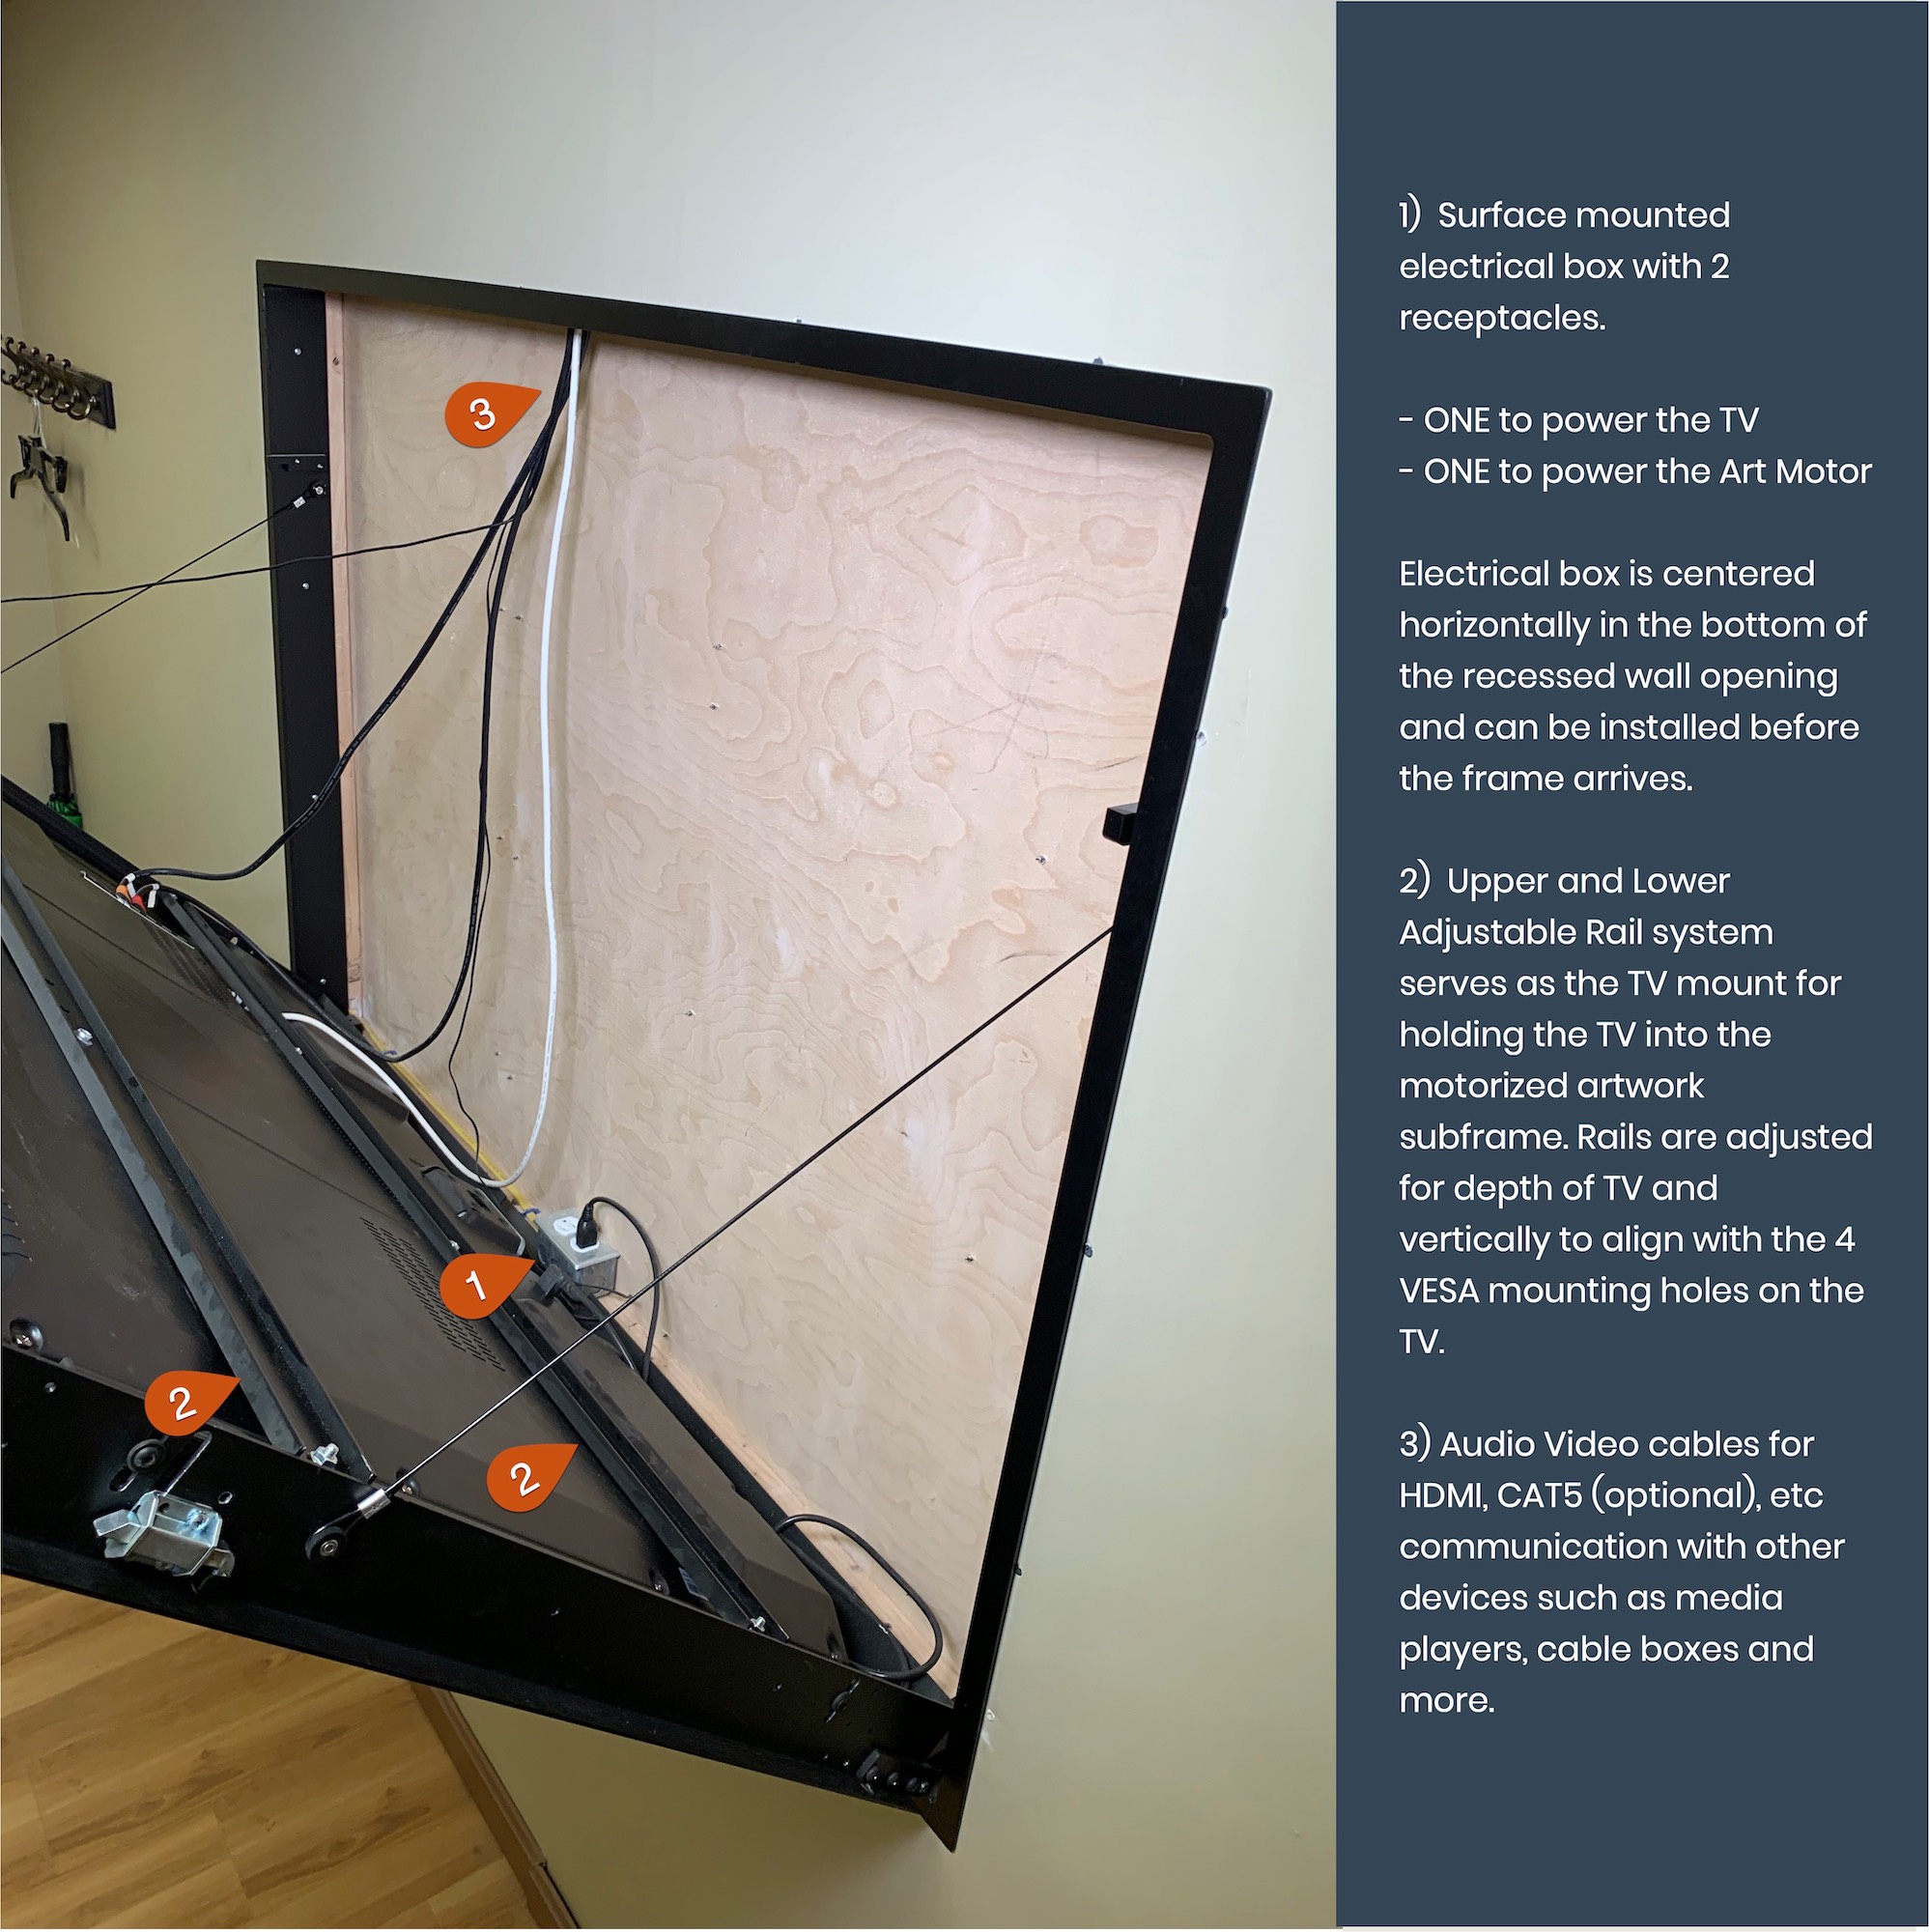
Electrical Requirements
A single 110V electrical outlet to power the motor in the TV Art Cover. Mount an electrical box in the bottom of the roughed in recess as shown below.
TV Art Control Methods

A variety of options are available for controlling your artwork by everything from a single standalone remote as well as integration with advanced home automation systems like Savant, Control 4, Crestron, etc as well as consumer grade systems such as Logitec Harmony, Alexa, iPhone, and More.