
The following installation method is used for a tight to the wall install where you have a recessed TV in the wall and the frame attaches directly to surface of the wall using two vertical rails mounted to the left and right side of the recess and the framed TV mirror will hook onto and hang from the metal rails.
Commonly used for:
- Mounting the frame directly to the wall so the weight of the frame is not on the TV
- Applications where the TV is fully recessed in the wall
- Product Types: Can be used with TV Frame only or Framed TV Mirror product types
- Frame Collections: Premium Hardwood, Standard, Artisan
When NOT to use this method:
- Partially recessed applications where the TV is protruding from the wall
- Motorized artwork frames
Remote Control Integration
If using one of our Infrared (IR) Relay Systems with your frame, you will want to install the IR Unit before installing the frame.
- IR-2 Instructions: Click here to view
WARNING: If you have any questions or concerns about the installation process of any of our products, DO NOT PROCEED! Contact 978-912-7200 before proceeding. Failure to properly install this system may result in serious injury or death.
Be sure to also review the information provided by your TV manufacturer and the supplier of the TV's wall mount to ensure the weight ratings and limitations of any devices directly associated by the installation of this product.
Installation Procedure
1) The back side of the frame will come with 2 Vertical Black rails on the sides that are taped in place for shipping purposes.
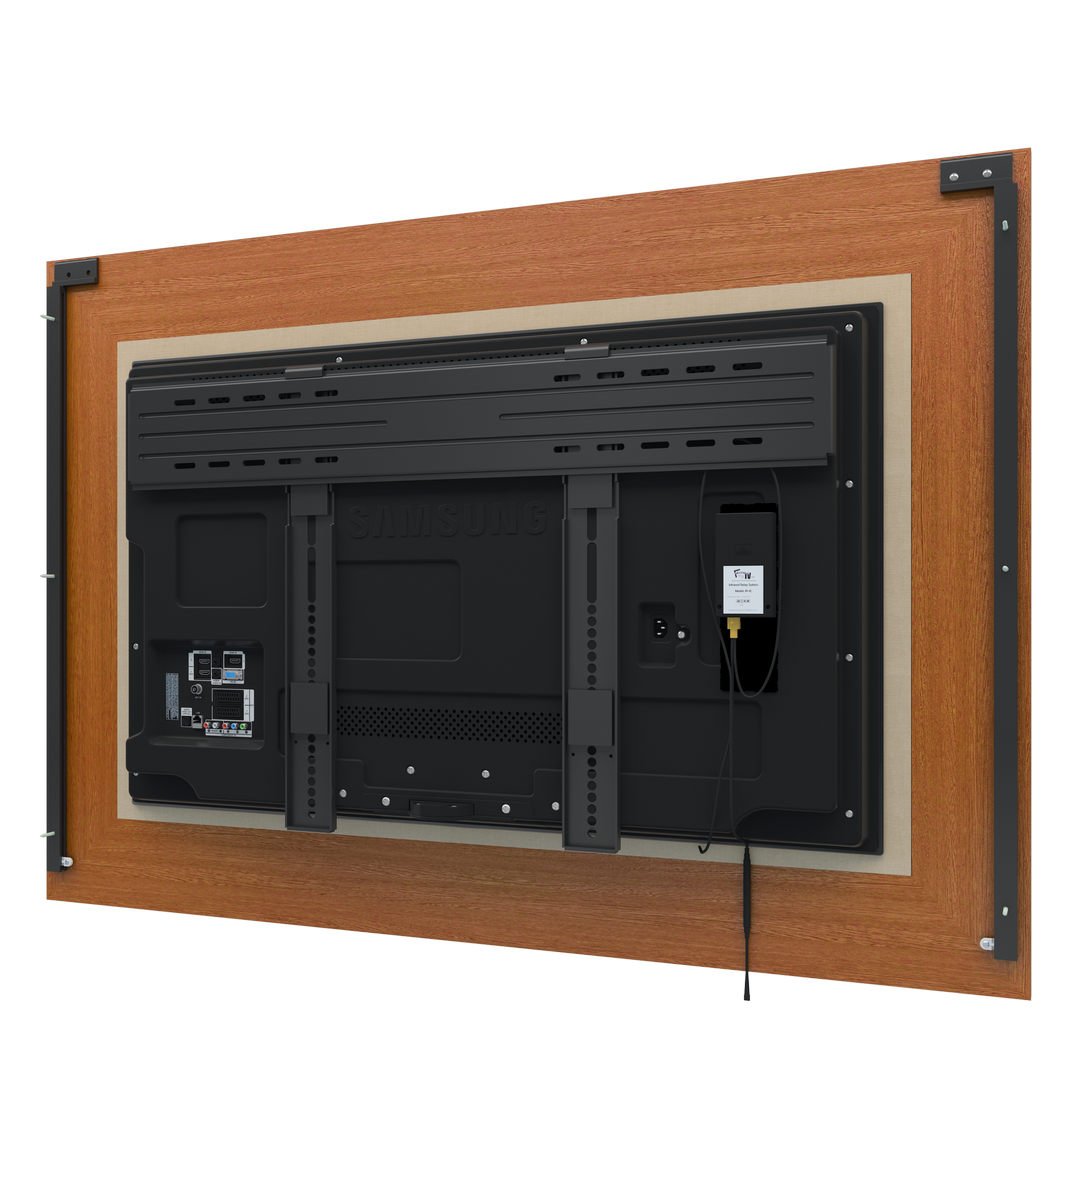
Figure 1: The above illustration shows a full back view of the frame with recessed rails with a TV (not included) and wall bracket (not included) and the infrared relay unit (optional accessory).
Before removing the rails, hold the entire frame up to the wall and align the opening of the frame with the already wall-mounted TV.
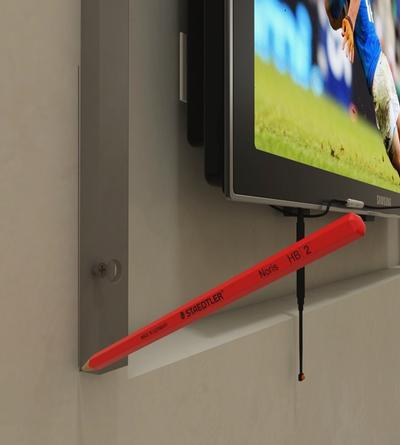
2) Then use a pencil to mark the wall alongside the mounting rails and at the top and bottom.
Now you can remove the rails by rotating the white turnbuckle at the bottom of each rail.
(Frame is not shown in this view for illustration purposes)
3) Install the rails on the left and right side of the recess as shown here. There will be three holes in each rail. Be sure these screws are firmly secured into a stud.
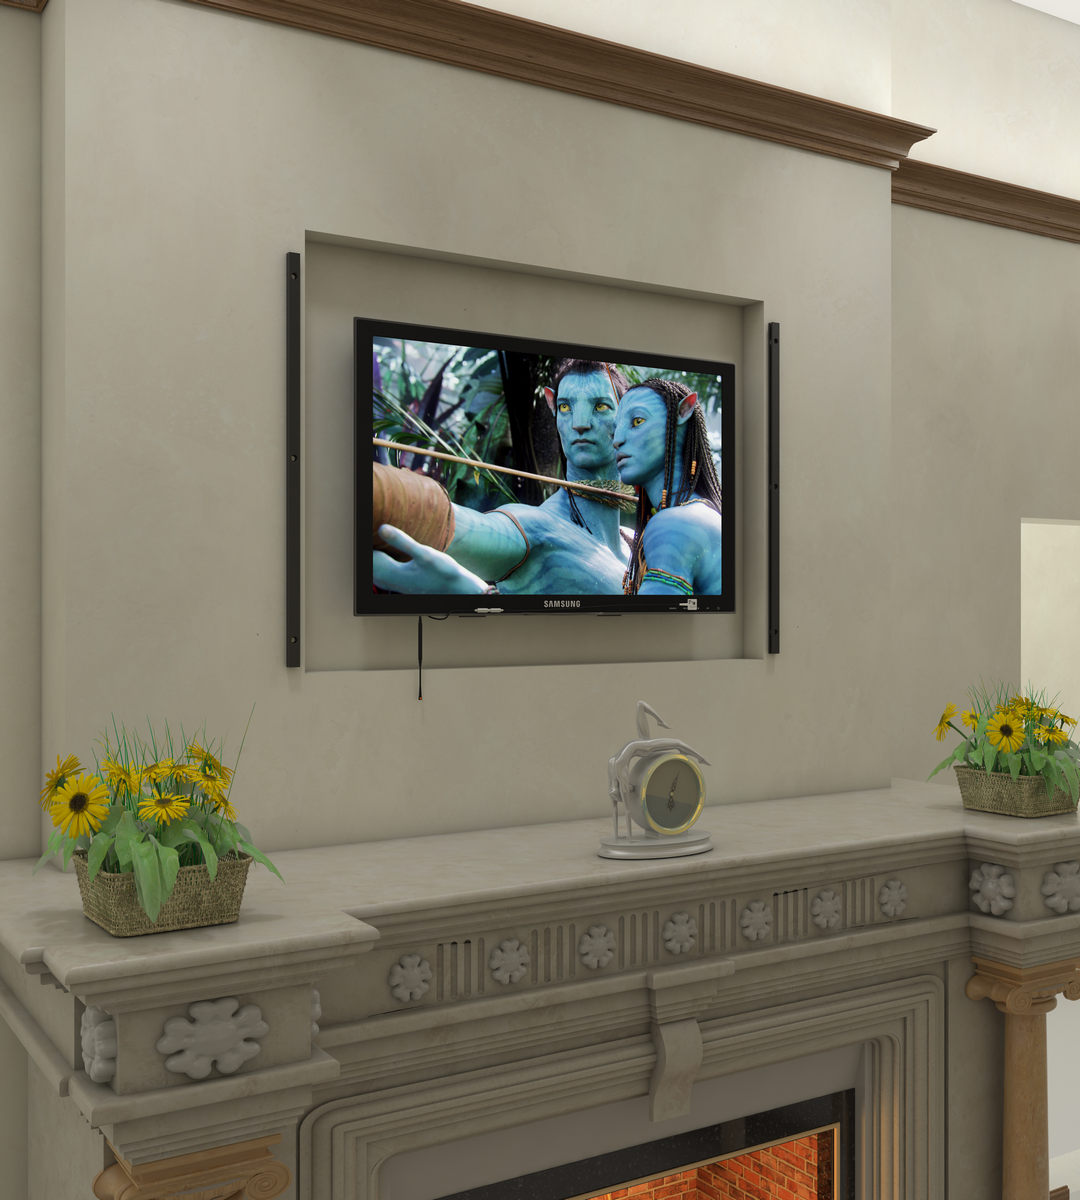
Figure 2: The above image shows a TV pre-mounted inside a recess with the recessed rails screwed into the left and right side of the recess.
4) It's important to ensure that that rails are positioned to have the opening of the U channel facing toward the opening of the recess and with the larger holes pointed towards the audience.
This way you can embed the mounting screw into the U Channel and firmly mount to a stud.
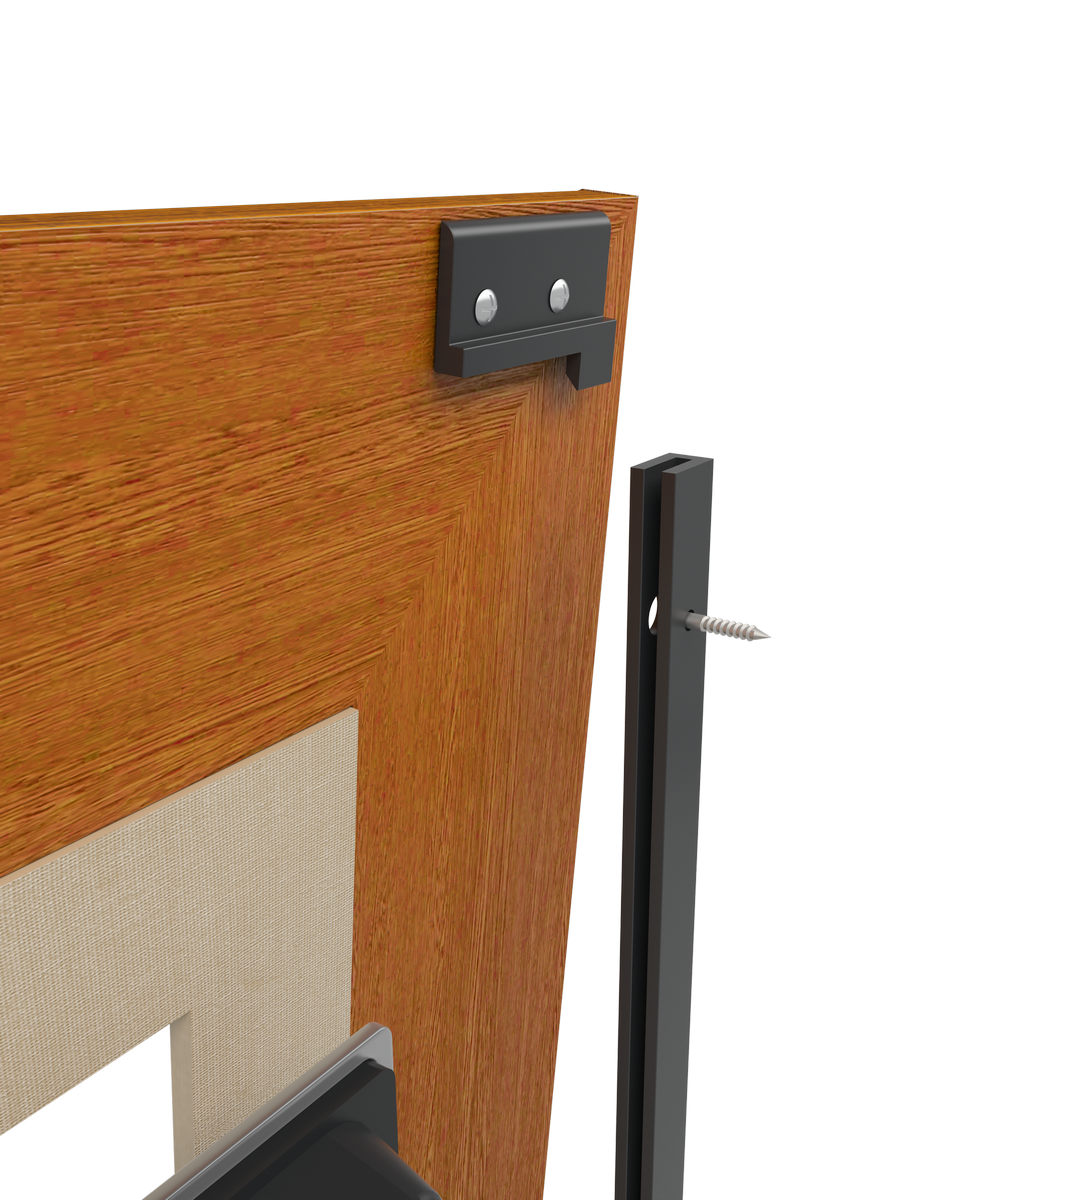
Figure 3: The above image shows the orientation of the recessed rails in relation to the back of the frame.
5) Once the rails have been installed properly to the wall, hook the frame onto the top of the rails.
Then swing the bottom of the frame to fully make contact the full length of the mounting rails.
Rotate the white turnbuckles at the bottom of the frame 90 degrees to fully lock the frame to the rails.
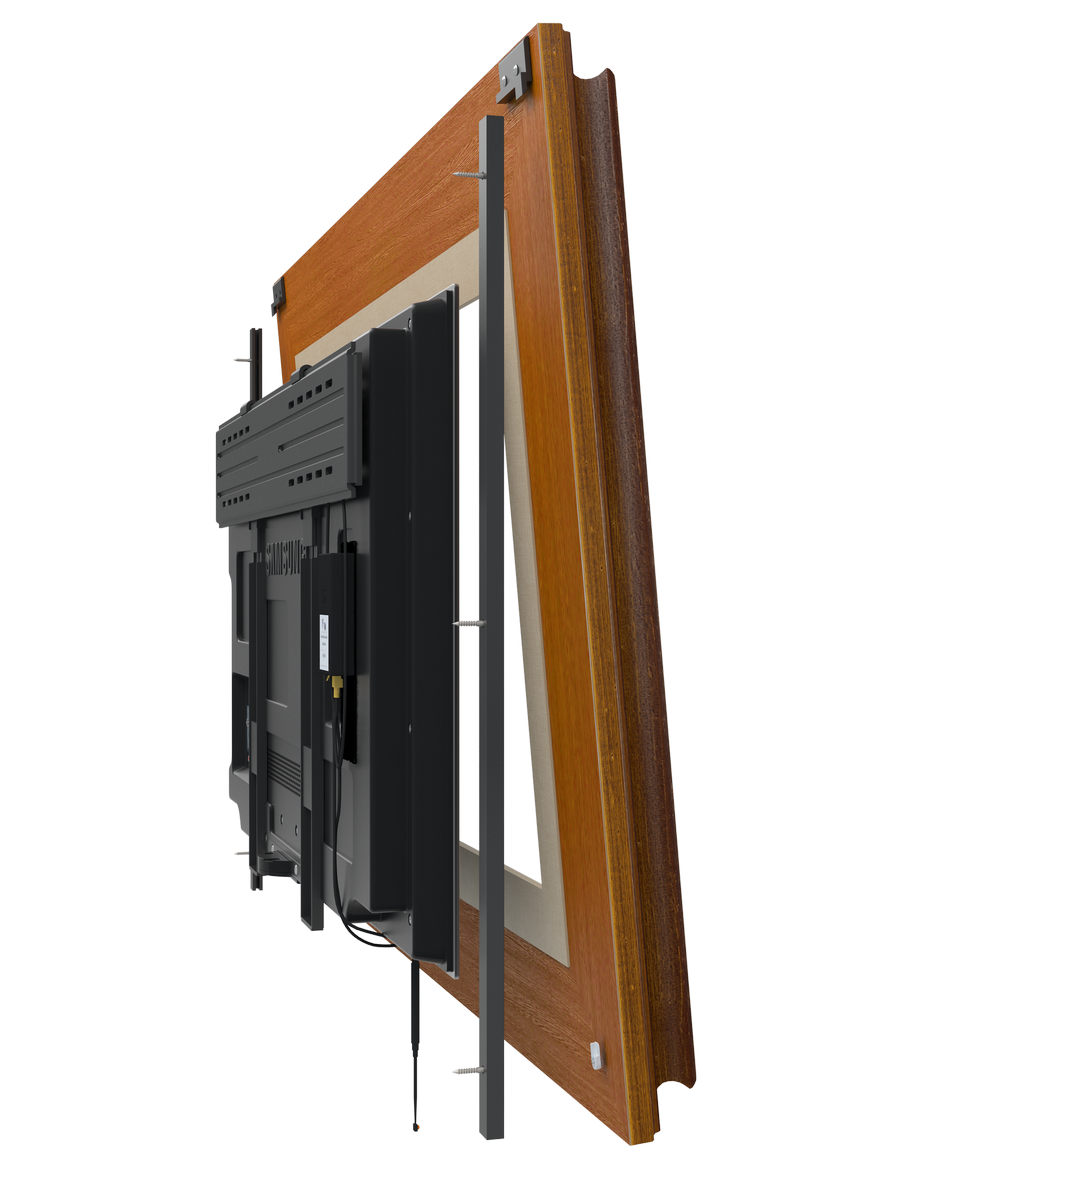
Figure 4: The above image shows the proper way to attach the frame to the recessed rails.

Enjoy your beautiful new frame!
